
03.10.2026
Foundation for a fence with 3D-printed concrete columns
A fence built from 3D BETON concrete columns does not need a strip foundation running around the whole plot. Here is what the columns stand on, how they are tied to the footing and who does the installation.
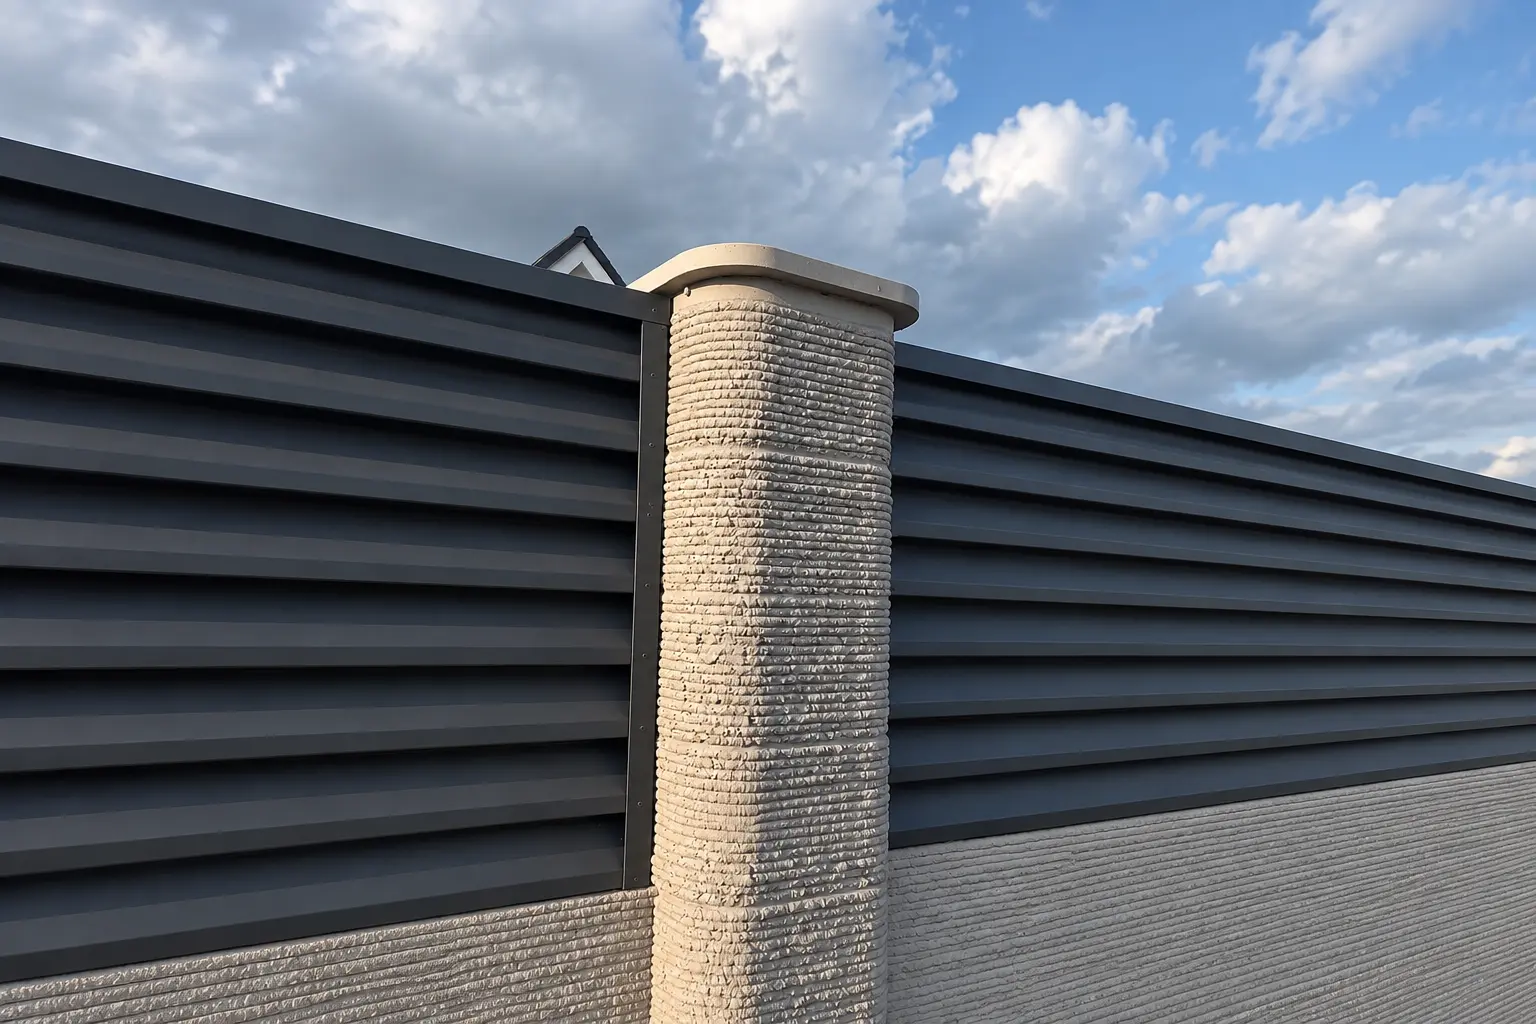
Pier footings instead of a strip foundation
Each column gets its own pier footing measuring 400×400×700 mm. Our fences do not need a strip foundation.
Why does that help? A strip foundation means a trench along the full length of the fence, a lot of digging, and formwork and concrete for every metre. Pier footings are made only where the columns stand, so there is much less digging and pouring. The ground between the footings stays untouched, which makes life easier on a plot with plants, utilities or paths.
Why footing depth matters
In winter the ground freezes and the water in it expands. This can cause frost heave, which pushes shallow footings upwards. That is why pier footings are set into the ground rather than standing the column directly on the surface.
The 400×400×700 mm size is our standard solution for a fence with columns. But every plot is different: clay soil, a high water table, made-up ground or a steep slope may need extra measures. Discuss cases like these with the installation crew before work starts. If the plot has a big level difference, it can make more sense to level it first, for example with retaining walls.
Hollow columns concreted on site
3D BETON columns are hollow. They are placed on the footing, set plumb and level, and then the cavity is filled with concrete on site. After that the column, the concrete core and the footing work as a single structure.
This approach has two advantages. First, a hollow column is easier to deliver and set than a solid concrete post of the same width. Second, the column is both the finished surface and the formwork, so it needs no cladding after installation. For the same reason the columns can be used as permanent formwork for carport or canopy supports.
Every item arrives on a pallet with spacers, in stretch wrap and with an instruction sheet. If your own contractor does the installation, we advise them.
Installation in broad strokes
Leaving the engineering details aside, the sequence is roughly this:
- setting out the fence line and column centres (the “Wave” and “Chain” models use a centre-to-centre spacing of 1.7–2 m);
- digging the holes and making the pier footings;
- unloading the columns and setting them level;
- filling the column cavities with concrete on site;
- fitting the infill between the columns and the concrete caps.
Unloading on site
We deliver across Ukraine by a 10–20 t articulated truck or as part of a shared load. The columns are unloaded with a truck-mounted crane or a forklift, so think ahead about how the vehicle will reach your plot and where the pallets can be stored for a while. This matters most for the heavier models, such as Column 78 or Column 117.
Mistakes to avoid
Most fence problems come not from the material but from rushing the installation. A few general tips:
- do not fit the infill until the concrete in the columns and footings has gained strength;
- check each column for plumb before concreting, because a lean cannot be corrected afterwards;
- lay cable ducts in advance if you plan lighting;
- do not backfill around the columns with building rubble; leave an even surface so water can drain away.
Who installs the fence
3D BETON manufactures and delivers the columns. Installation itself is carried out by our partner crews, who know the design and the order of work.
If you already have your own contractor, that works too. We advise them and provide instructions on setting and concreting the columns. Installation and delivery are priced separately from the products.
What to prepare before ordering
For an accurate estimate, gather a few things:
- a sketch of the plot with the length of each side of the fence;
- the positions of the gate and wicket;
- any level differences;
- the column model you prefer, for example Column 40 for long runs or the radius Column 78 with lighting;
- whether cables need to be run to the columns for light fittings.
Summary
A fence of 3D-printed columns stands on separate 400×400×700 mm pier footings, with no strip foundation. The columns are hollow and are concreted on site, and installation is done by partner crews or by your own contractor following our instructions. Production to order takes about 1 month on average, and the products carry a 20-year warranty. All column and fence models are collected in the Fences and columns section.
Send a hand sketch with dimensions or a photo of your plot via Viber +38 067 401 00 94 or through the form below, and we will work out the number of columns and prepare an estimate.
Useful articles
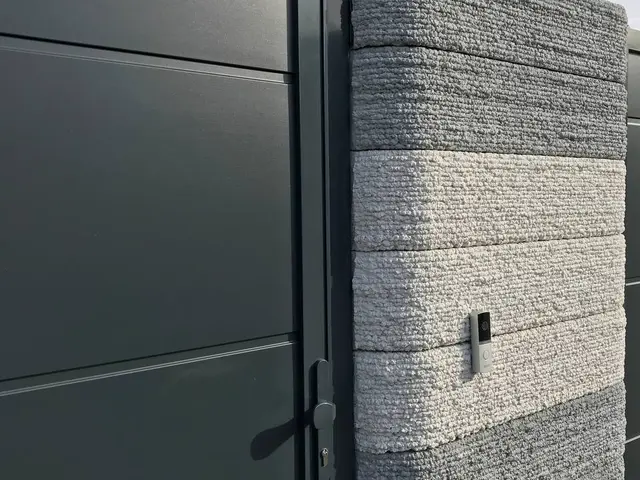
How to choose 3D-printed concrete fence columns
The column sets the character of the whole fence: it decides the look, the budget and what kind of infill you can fit between the posts. Here are the five 3D BETON models, their sizes, prices and where each one works best.
Read the article →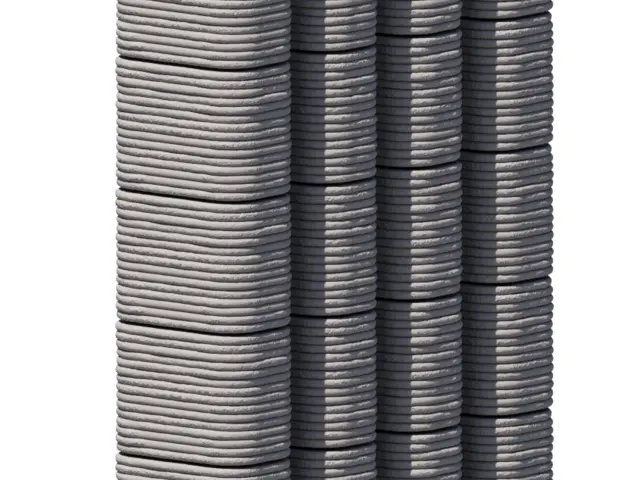
3D-printed concrete columns or brick pillars: which to choose for your fence
For a long time the brick pillar was the standard for a solid fence. Here is how 3D-printed concrete columns differ from it, and when each option makes sense.
Read the article →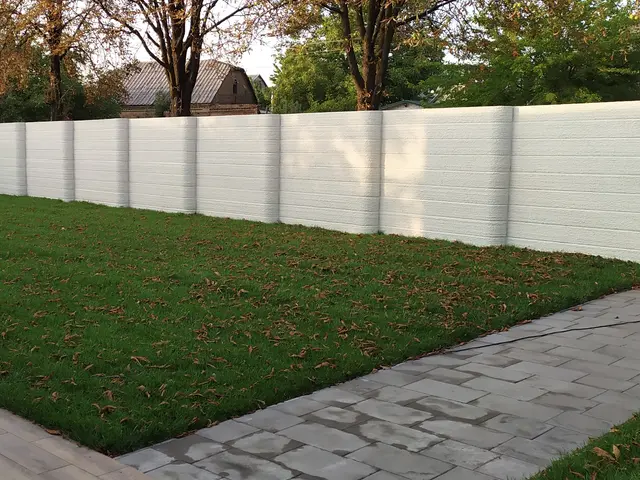
How much does a fence with concrete columns cost: a 30 m worked example
The price of a fence is made up of several parts, and the easiest way to understand it is with a real example. Below we price 30 m of fence with 3D BETON columns in three options, using list prices.
Read the article →
Caring for 3D-printed concrete products: planters, benches and fences
Concrete garden products need very little care, but a few simple habits will keep them looking tidy for longer. Here is how to clean planters, benches and fences, what to do in winter and what to avoid.
Read the article →Tell us about your project
Send a sketch, drawing or photo of your site. We'll pick the product, work out the price, agree on quantity and delivery, and our partners will handle installation.
- Phone and Viber+38 067 401 00 94
- E-mailinfo@3dbeton.com.ua
- ViberMessage on Viber
Files, drawings and photos are easiest to send via Viber or e-mail.